Showing posts with label pillows. Show all posts

Apr 12, 2012

the big reveal...

come on into my home,
make yourself comfy
i'll get you a big bowl of cookie dough ice cream...
or i have some skinny cow ice cream sandwiches if you're watching your weight...
or, i have oodles of easter candy, if you're lactose intolerant.
we can talk while the kids fight over an etch a sketch


i've been re-doing my front room for a while now, & i'd love to show you, now that it's done.
it's a small space. only about 10 feet wide and 12 feet deep.
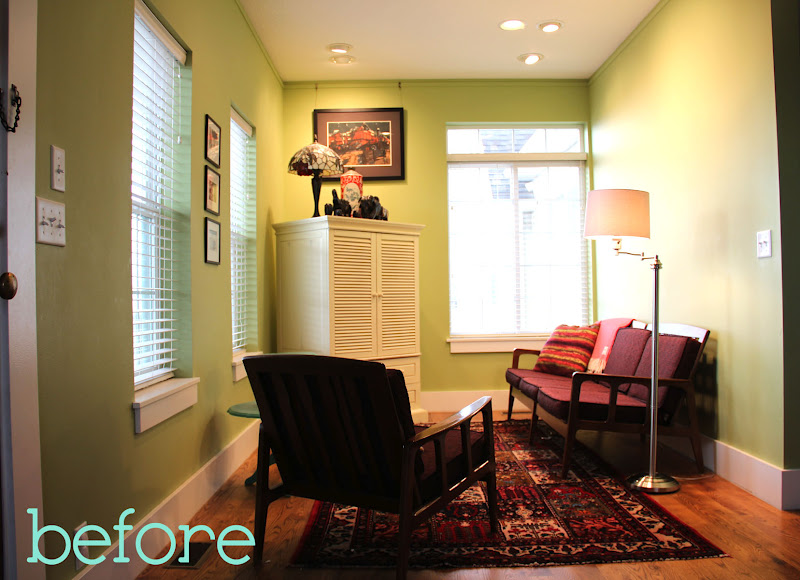

the motivation for the makeover was this here brown couch.
it might look ok, but it turns into the devil when you want to sit or lay on it.
it wasn't terribly uncommon for a cheek to fall asleep while sitting on it because it has bars under it that hit you in all the wrong places.
it's super uncomfy. and brown.
quite frankly, it was boring in there.

i had to find the perfect couch that would fit the room and fit our budget.
we were searching for a grey leather couch with a vintage modern vibe.
it had to be leather, because of it's proximity to the kitchen (and inevitable spills)
and it had to be 35" deep or narrower
it had to be comfortable
and hopefully under $1000.
(which is a hard price point when looking for super adorable grey leather couches)


our search ended when we found this pretty leather number.


I added some random, pretty grey and turquoise stripes to the wall.
I had all these paint colors on hand and didn't have to go buy any, which was nice.
I'm loving the stripes.

1. We found the leather sofa at Macys.com 
it's the Claudia sofa in Taupe
we had to wait about 3 weeks for the sample to come in the mail.
we were worried the taupe would be too brown.
but, when the sample came it was a nice warm grey so we went for it.
and, since we have a history of getting credit cards and never activating them
we decided to go ahead and get the macys card to save an extra $100
it ended up being $899 plus tax and shipping (around $1000)
(which is waaaaay better price-wise than the other sofas I had looked at)
2.  Pillow from Moxie Mandie more info HERE
3. IKEA
4. Pillows from Mindy Mae's Market (they sell all sorts of awesome stuff at discounted prices online...follow them on facebook & you won't regret it!)
5. Oh, how I love these paintings! Jeremy (my husband who is an artist) painted these of each of our kiddos :)  They make me happy!  To see more of his work click HERE


I kept the same Danish Modern side chair because the chair wasn't too terribly uncomfortable, and i happen to LOVE danish modern furniture.

I just added some bright reddish orange-ish color fabric and more pillows from ikea and some chevron from MMM. (since re-upholstering this, i've noticed this color ALLOVER the offices of Sterling Cooper Draper Price  (& if you don't know what SCDP is, i feel so sad for you.))

Dont' look too closely at my reupholster job...it was my first crack at sewing upholstery with piping...yeah, it's perfectly imperfect, just the way i like it ;)

Then, I wanted to add a little extra seating for when we have company.
With only the sofa and side chair, there just wasn't enough.
So, I went on the search for a table/bench that could be used as a coffee table OR a small bench for the kids to sit on.  I found the perfect one at IKEA

IKEA Molger bench in brown
it's decorated with another snazzy pillow from IKEA..(did I mention that I found those pillows for $2.99 each?? crayzay! that may be why there are 3 in this small space) and here's the third beautiful copper item that i was talkin about the other day...and some adorable vintage childrens books and some coasters.

The armoir also got a makeover, making it a lovely shade of yellow.
open it up, and it's (surprise, surprise) turquoise :)


some things we kept the same:
the turquoise table with our copper antiquities (no way i was getting rid of that!)


our collection of ebony elephants that we've been collecting each year on our anniversary, our lamp we bought when we were first married, our vase from downeast


 and some cool Aesop's fables illustrations from Jeremy's dad


and, in an effort to keep it real, i'll show you what it will really look like when you stop by:


so, come on over.  we can watch an episode of the new girl, or what not to wear (as seen here), or once upon a time ( i have them all recorded on our dvr :)  or, maybe we could watch madmen...or just gossip about WTFreakityFreak is going on with Don Draper...hope to see you soon!

Apr 10, 2012

just a little colorful makeover...

a few weeks ago i found this cool chair while at a thrift store

I was lovin' the pretty yellow vinyl
and the price was right ($3)
and i absolutely adore the copper feet on this baby

and i remembered seeing this beauty on pinterest

so, i decided i'd give the robin's egg blue with mustard color chair a try.
the chair needed a little minor repair on the top
a few carefully placed staples took care of that
(also, a more-careful-than-me husband is a handy thing to own)
then, i just sanded and painted
i like how the blue makes the copper stand out more
(i've been a bit obsessed with copper lately)


whattaya think?


also, i won this simple, pretty pillow cover from MoxieMandie
(you should follow her, she's awesome:)
when i got my new sewing machine i just couldn't resist sewing on this blank canvas
i saw this lovely west elm pillow in an ad & was inspired
via West Elm
so, using the west elm pillow as inspiration i turned the plain linen pillow into this:
here's a close-up look at the stitching
i'm totally excited by all the fun things my new sewing machine can do
here are 2 of the new stitches, a kinda snowflake lookin flower and another flower

have you been doing any upcycling lately?
i'd love to see your handiwork!

Sep 20, 2011

diy upcycled pillows

so i bought a quilt online from anthropologie
it's kinda a big deal to me, because i never spend that much money
and when it came to my house
i wasn't in love with it
i was in like with it
all the colors were different than i thought they would be
the colors were so different it was hard to find fabric to coordinate to make matching pillows
i actually had to get paint chip samples and carry them around in my purse so that i could match colors while i was at various stores
{carrying these around was actually my husband's brilliant idea}
i found this skirt at old navy on clearance for $10
the color was perfect, and i loved the ruffles... so i made it into a pillow using my $2.50 pillow form trick


the finished pillow:
and while looking at my color samples it reminded me of a sweater i don't ever wear anymore
i bought this sweater on clearance for $10 back in 2003, it gets a lot more use now as a pillow
the pretty pillow with the bow:

with the sweater all stuffed with a pillow my husband said it reminds him of what i looked like when i tried to wear it when i was pregnant....uh, yeah, maybe that's why i never wear this sweater anymore!

so here's the complete look w/all 3 new pillows i made
and now i love it!
and i LOVE  the painting my husband painted that he hung above our headboard
he painted it when he was 17 years old! yeah, he's amazing like that :)

and, i just have to show you the other amazing painting that my husband painted-

how can you not love this teddy roosevelt painting?! 
i'm trying to talk my husband into painting more of the presidents in this style, wouldn't that be amazing?
let me know what you think :) i'd love to hear from you!
xo- Danielle

Sep 1, 2011

How to Turn an Old Door into a Headboard

saw this in martha stewart magazine forever ago


and made a mental note: i want to make one of those!  so....8 yrs later...
we followed these directions for making the headboard


my husband did 99% of the work! and it was hard!
we started with this:

the door was found at an antique store in slc....we actually bought about a dozen doors from them and refinished most of them to use in our house...ya know, like doors (not headboards:) but, we had some extras lying around.
they had about a hundred years worth of lead paint layered on them so hubs lovingly stripped the door..this is the only time in our marriage i let him play with stripper (s) haha


i helped with the sanding a lil bit :) hubs was worried about inhaling lead paint so i was obligated to wear this mask {and yeah, my hair usually does look that fabulous :p }

Then came the fun part!! painting it!
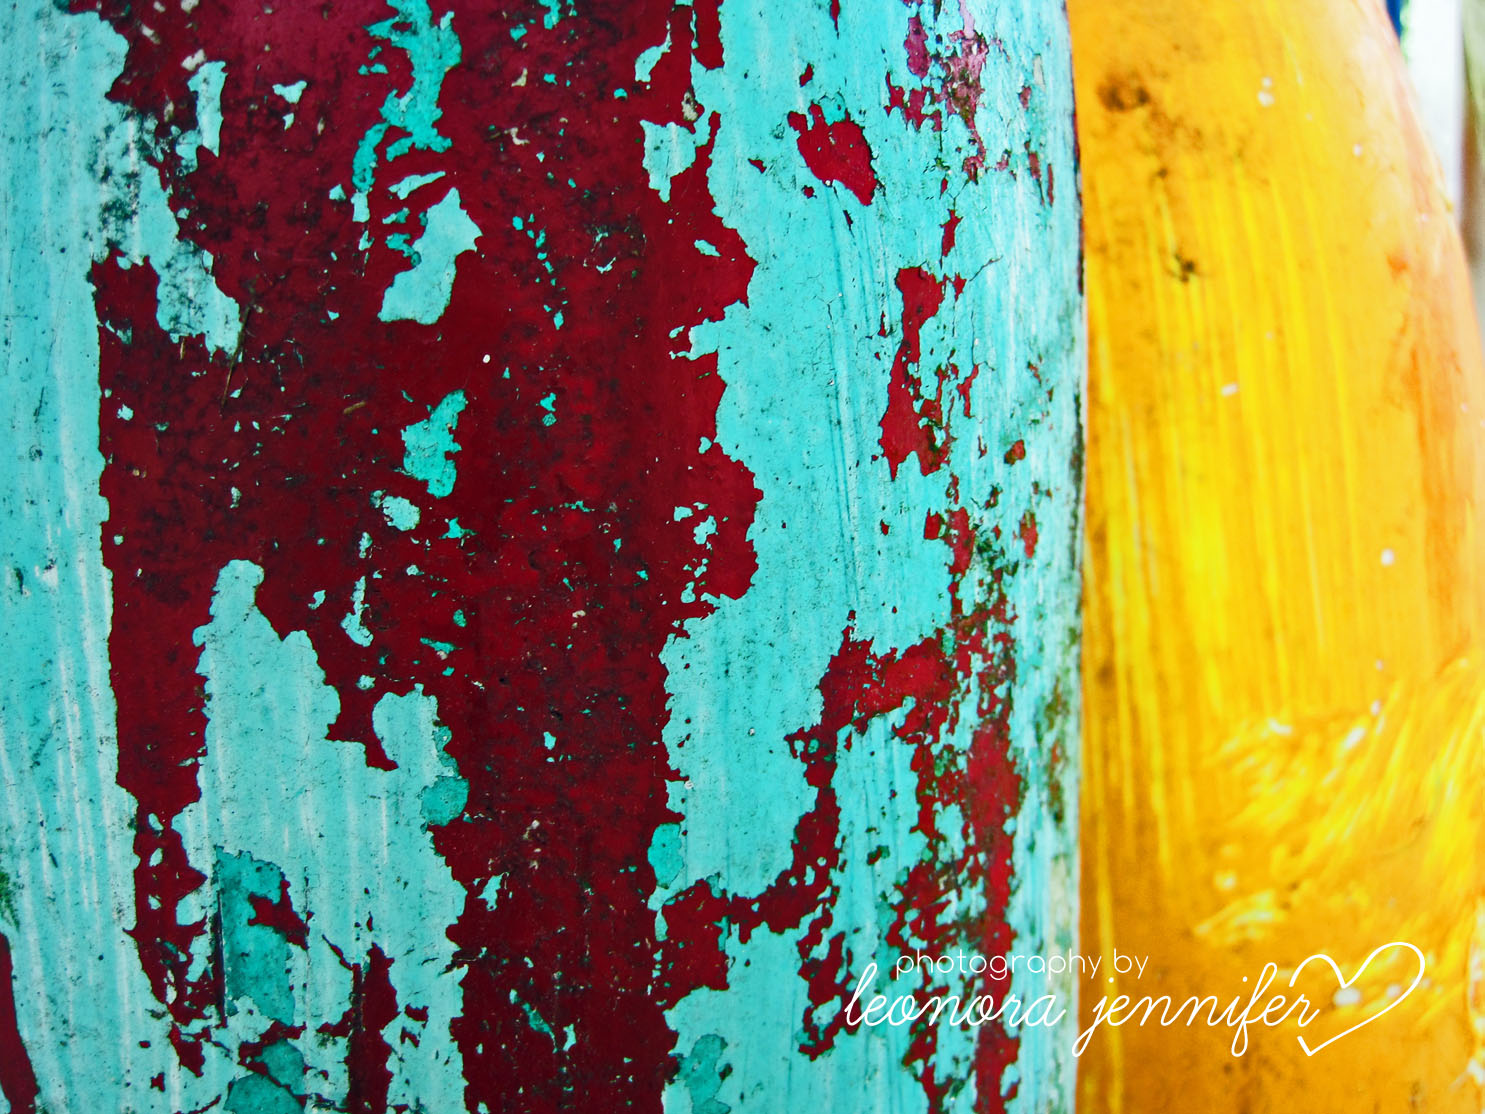
I was inspired by my friend Leonora's photographs: check em out, check em out {uh, yeah, those are lyrics to a song....nobody probably know what i'm talking about ;) }

photos courtesy of: yellowheartart.blogspot.com


Aren't the buoys awesome??? so, i wanted to replicate this look for my headboard...and several times in the process of re-creating this i thought "am i insane?!" but I think it turned out awesome!

details
if you care to know how to do this here are the steps:  (and, yeah, it took me a few tries to get it right)
1.  beat the heck out of the door.  i used a hammer and a screw...lay the screw down and hit it with a hammer on the twisty part, it makes a cool design :)
2.  cover that bad boy with all sorts of funky paint colors {trust me, i did some not so funky colors the first time and it's not so great}
3.  cover those funky colors with wax ...i used my husbands snowboard wax cause that's what i had on hand.  a candle might possibly work..any kind of hard wax would probably do {trust me, you want to put a lot of wax on this bad boy.  i did just a little bit of wax the first time and it wasn't so great}
4.  paint the top-coat. i used a fabulous turquoise :)
5. while the paint is still wet-ish start scraping it off.  this works best when the paint is super-sticky still- but not too wet...but not too dry.  uh-huh, you get the point right? {if you wait too long, the paint won't come off}
6.  i coated mine with a high-gloss clear spray paint because i thought it'd look super awesome high gloss (and it does)

wherever the wax was, the paint will easily rub off.  i just used the clean end of a stir stick i had sitting around....or use the dirty end, i don't care :)

so, it's pretty easy, (the painting part atleast) if you have me as your guide {which i didn't...that's why it took me a few times}


still working on completing the look w/more pillows


Aug 31, 2011

pillow forms on the cheap

so, meandering down the aisles of wal*mart i found these
$2.50?! boo yeah! i'll take 10 :)


and i instantly had the idea that i should use these for making throw pillows for my master bedroom makeover


so, i got right to work!
1.  I just trimmed off the end of the pillow
2.  stuff the fluff further in for a really poofy pillow, or take out some fluff for a reg. 18x18 pillow form
3.  pin
4.  sew it back shut, i used a zig zag stitch
ta da! ready to go!


i used turquoise thread so you could see the stitches....oh, and because that's what was in my sewing machine and i'm lazy like that ;)
i literally bought nine of these, and i'm going to have to go back &get more because now my girls are excited about getting some throw pillows for their beds.  oh, and my 3 yr. old looks absolutely adorable riding in a shopping cart full of pillows :)
and....the results:

Pin It


now go sew a pillow!

xo- Danielle

Related Posts Plugin for WordPress, Blogger...